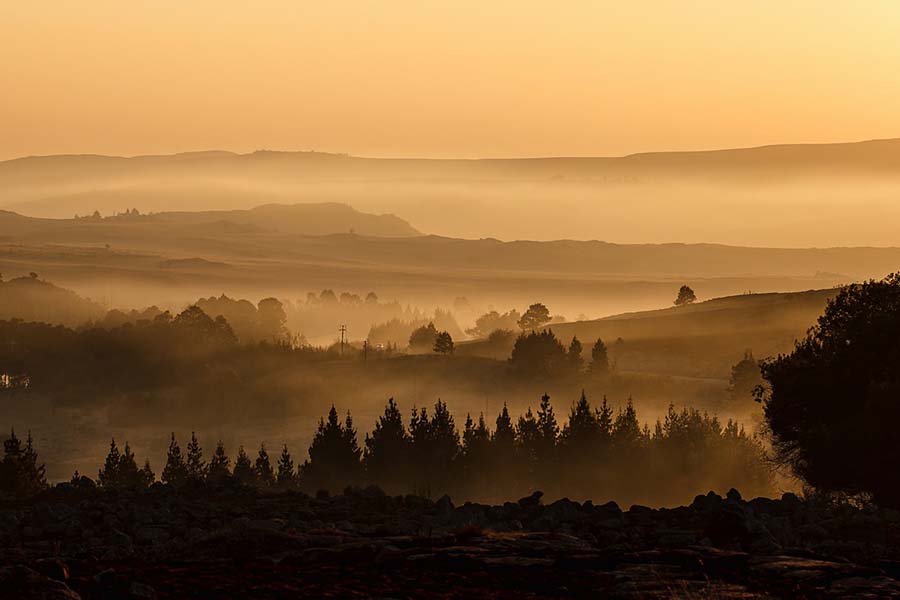
Shooting under a light deficit remains one of the most challenging aspects of photography, but when handled well, the results can be very interesting. Whether it's a vibrant cityscape or a subtle seascape, the possibilities are endless. Here are a few points worth considering before you head out to shoot. By the way, many smartphones now have great cameras that handle low-light conditions well. You can always check the list of the best phones for photography on the website of the Skylum developer
Develop a plan of action in advance
It's worth formulating a plan of action before dusk, such as deciding on your location while there is still some available light and taking some test shots to see how it will look in the frame and get rid of distracting objects.
Cityscapes look best from a distance, while seascapes are best shot closer to the shoreline. Pay attention to compositional elements to form the scale, context, and point of interest. When dusk arrives, you'll only have 20-30 minutes to shoot, so you need to be prepared for any surprises.
The best time to take pictures
The best time to shoot a low-light landscape begins about half an hour before sunset and ends about half an hour after sunset because the sky is colored in beautiful hues during this period; resonating in pinks, purples, reds, and oranges, it eventually fades to a mysterious blue. Such a sky is much more interesting to photograph than a night sky, because in this case we have the opportunity to reduce the shutter speed, and it also helps to highlight the objects in the frame.
The key to perfect shots
The key to creating flawless low-light shots is long exposures, that is, long shutter speeds, so a stable tripod is your most important aid in this matter. Choose lightweight tripods, which are ideal for landscape photographers. By placing your camera on the support, you can choose a lower light sensitivity, reduce noise, and at the same time choose as long a shutter speed as necessary without worrying about blur.
If you don't have a tripod but can't resist the temptation to take pictures, look around and see if there is anything else around that can serve as a support, whether it's the top of a wall, a garbage can lid, a fence, the ground, a backpack or even your shoe – there are many ways around these problems. If there is absolutely nothing around to support your camera, try leaning on a building or something else stable instead, holding the camera down and supporting it with your hand from below. The same rule applies if you're taking pictures on a smartphone with a good camera.
Professional camera settings
Use the following suggestions:
- So, start by setting your camera on a sturdy tripod and putting it in manual control mode or shutter speed priority if you like.
- Set the ISO to 100 (on some DSLRs you have to go into a separate menu to find this option) and choose a shutter speed of 15 to 20 seconds (finding the optimal setting can sometimes be a matter of trial and error).
- When it comes to the aperture, you'll probably want a greater depth of field so that even distant elements remain in focus.
- Using an automatic white balance can result in faint colors, so set the white balance manually. It is advisable to shoot in RAW, as you can always easily change the white balance later when processing as needed.
Another important part of the kit is the remote shutter release. The advantage of using this device is that the photographer can make sure that he or she doesn't accidentally bump the camera during exposure, which can lead to a blurred frame, and loss of sharpness and clarity. If you don't have a remote control, you can use the self-timer.
If you choose high ISOs over tripod support, noise is inevitable. However, there are ways to reduce this effect. First, your device may have a built-in noise reduction system, once activated, the camera will automatically look for incorrectly colored pixels in the image and replace them. It's not a good idea either way, but it's worth considering if handheld photography is the only option available.
There is a huge amount of noise reduction software on the market to help solve the problem during post-processing. For example, the modern photo editor Luminar Neo with its an intuitive interface and an extensive set of professional tools.
Include foreground elements
Include foreground elements to form a point of interest, scale, and create a context in the image. For example, a combination of natural and artificial light can look very effective in the case of cityscapes, with bright flashes of light coloring the night sky and lots of glowing spheres scattered around, but if you include a bridge, highway, or building in the shot, it helps bring the viewer into the frame. If you're shooting a landscape at dusk, you can include a diagonal row of trees, a fence, a hedge, or a farmhouse in the frame. Likewise, a lighthouse, cliff, or pier can be used in the case of marine scenes.
Exposure Control
Your technique will be honed by trial and error at first, but use a histogram to control your exposure. It may show that some parts of the shot are overexposed, but maybe it's the bright city lights in the landscape you're shooting, in which case, it's okay. Ideally, your shot will show the sky after sunset or the blue veil of dusk, but at the same time, the details on the buildings in the foreground should still be distinguishable. The most important thing is to experiment and have fun!
Today you can shoot beautiful landscapes in low light even with your smartphone. You will be interested to read about the best phones for photography on the blog of the Skylum developer.


